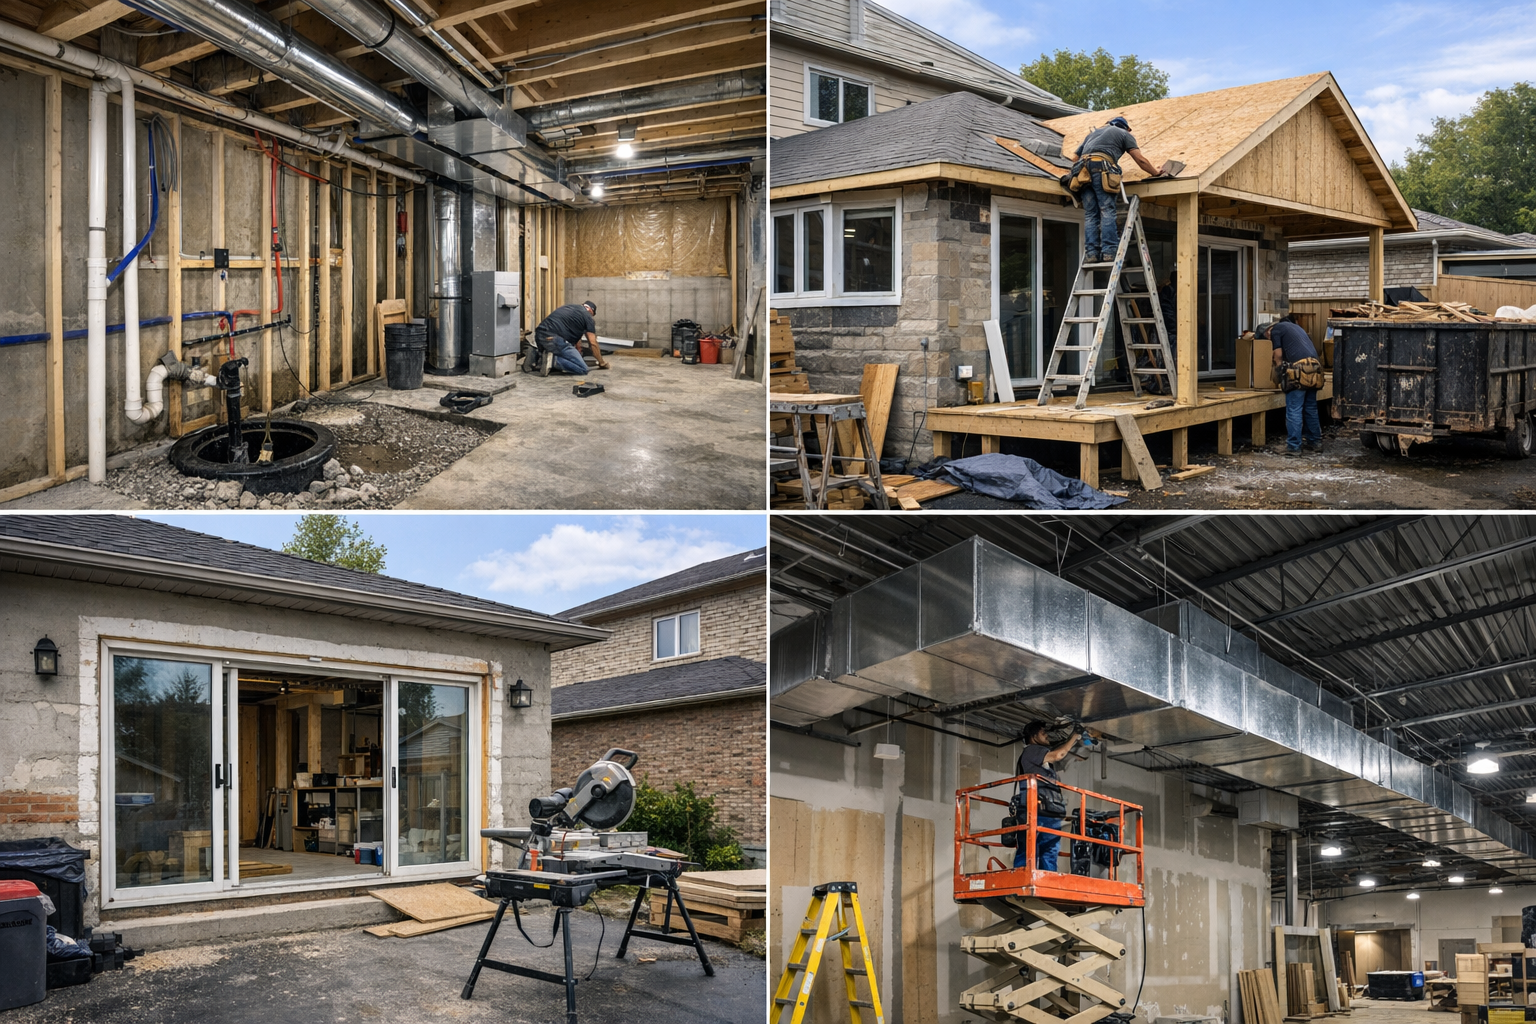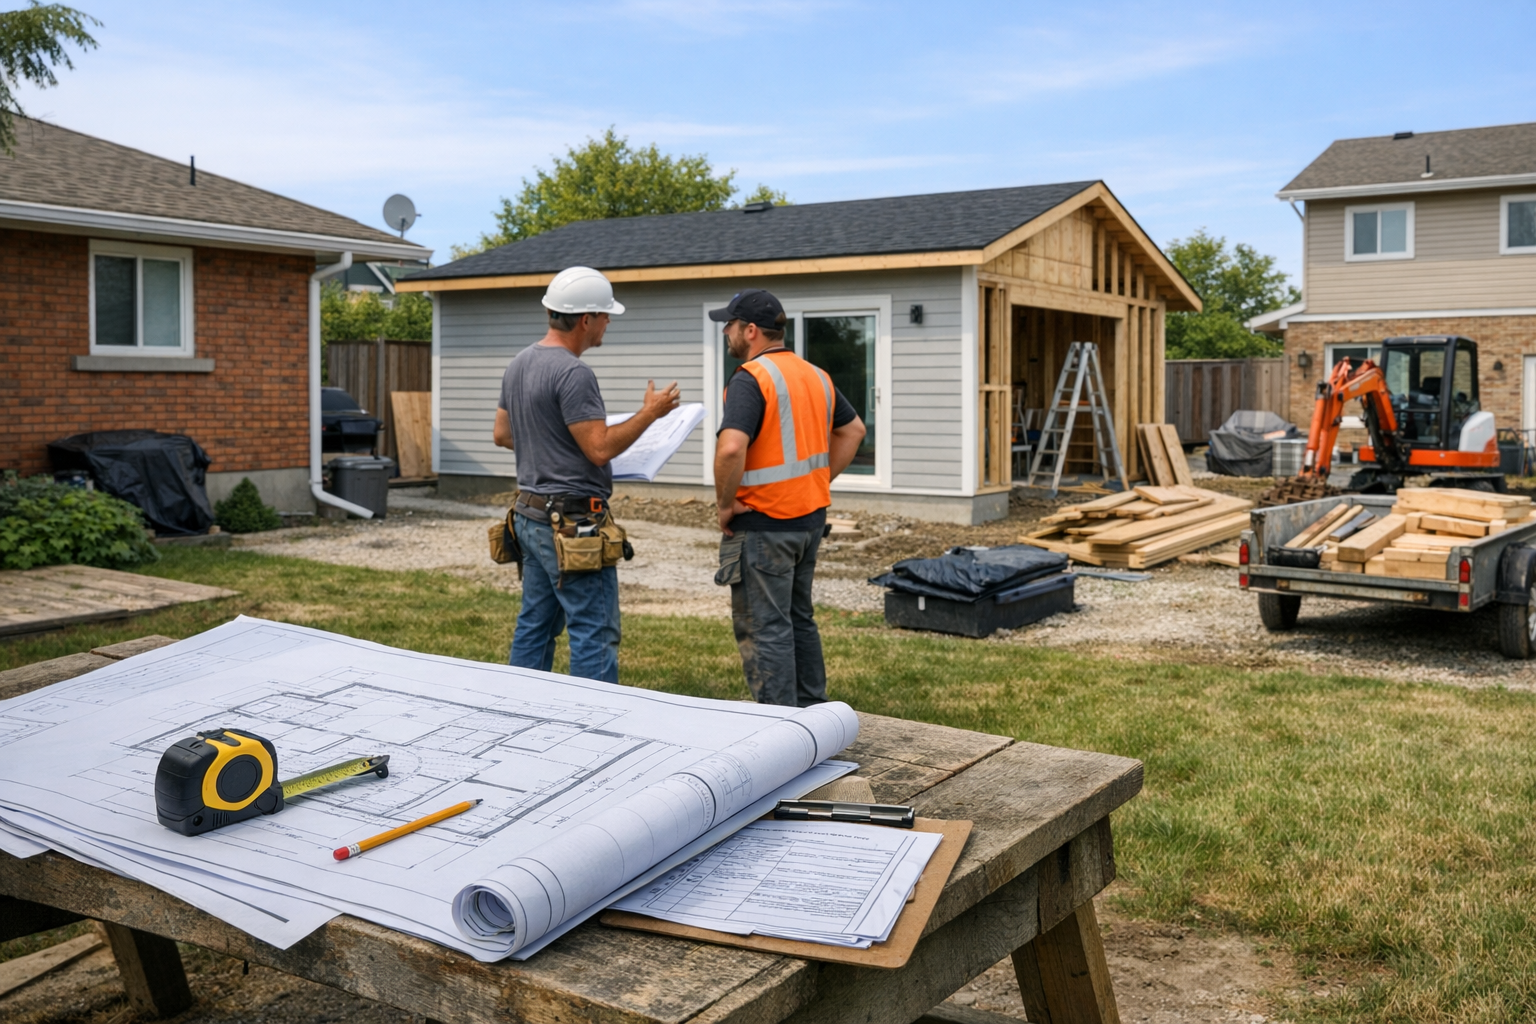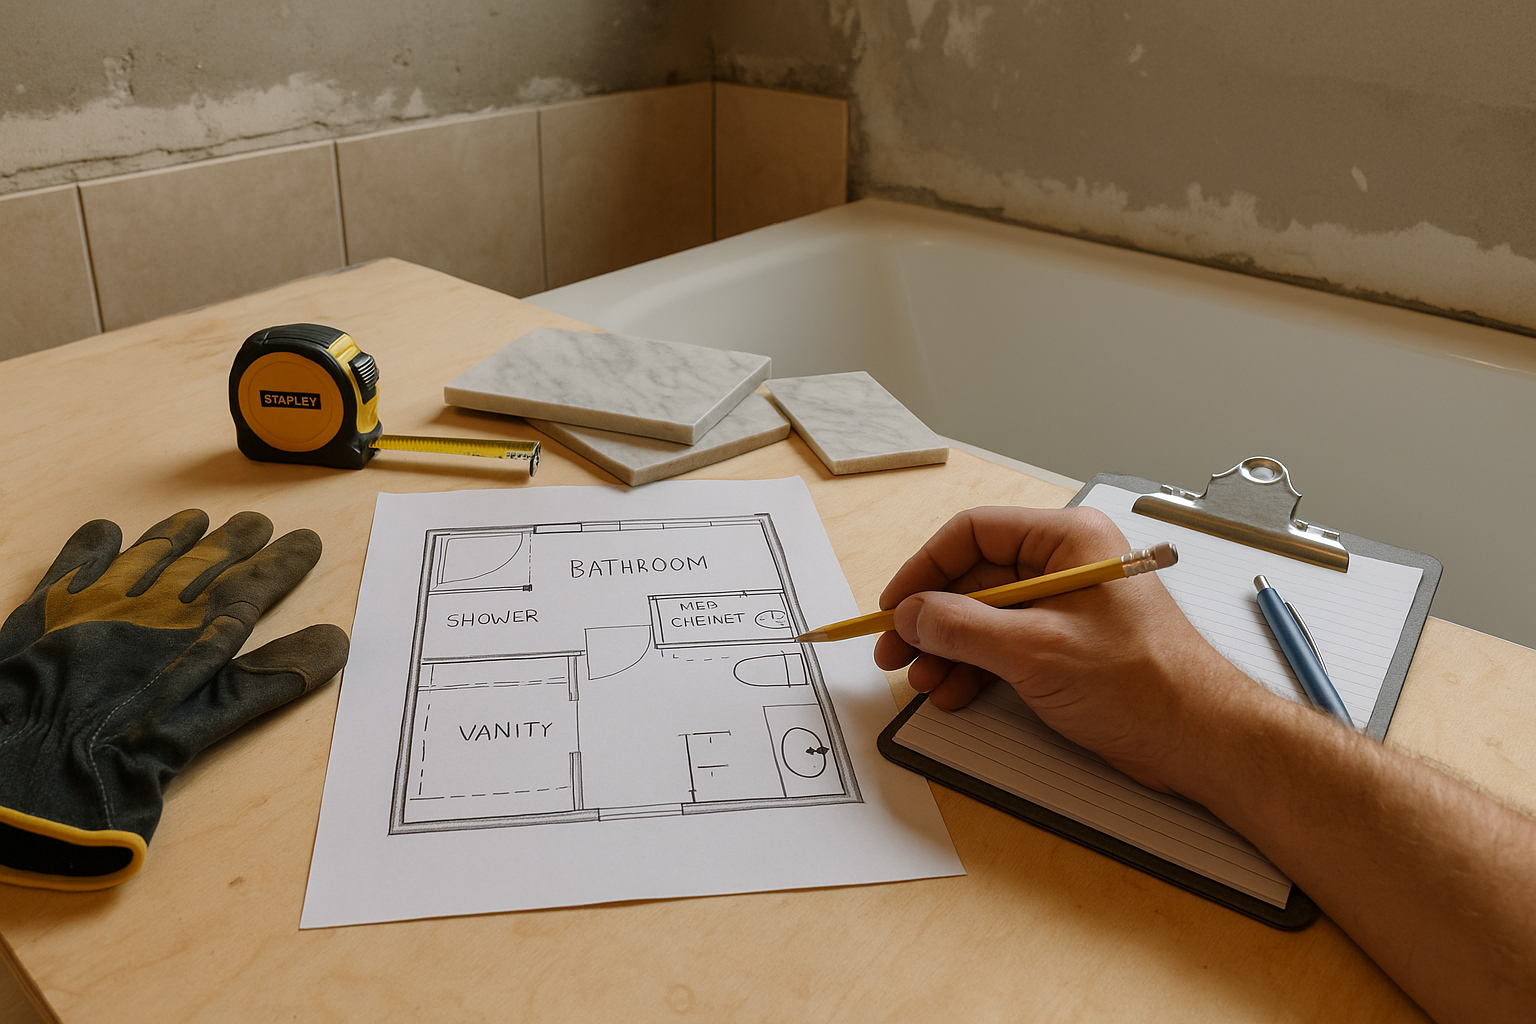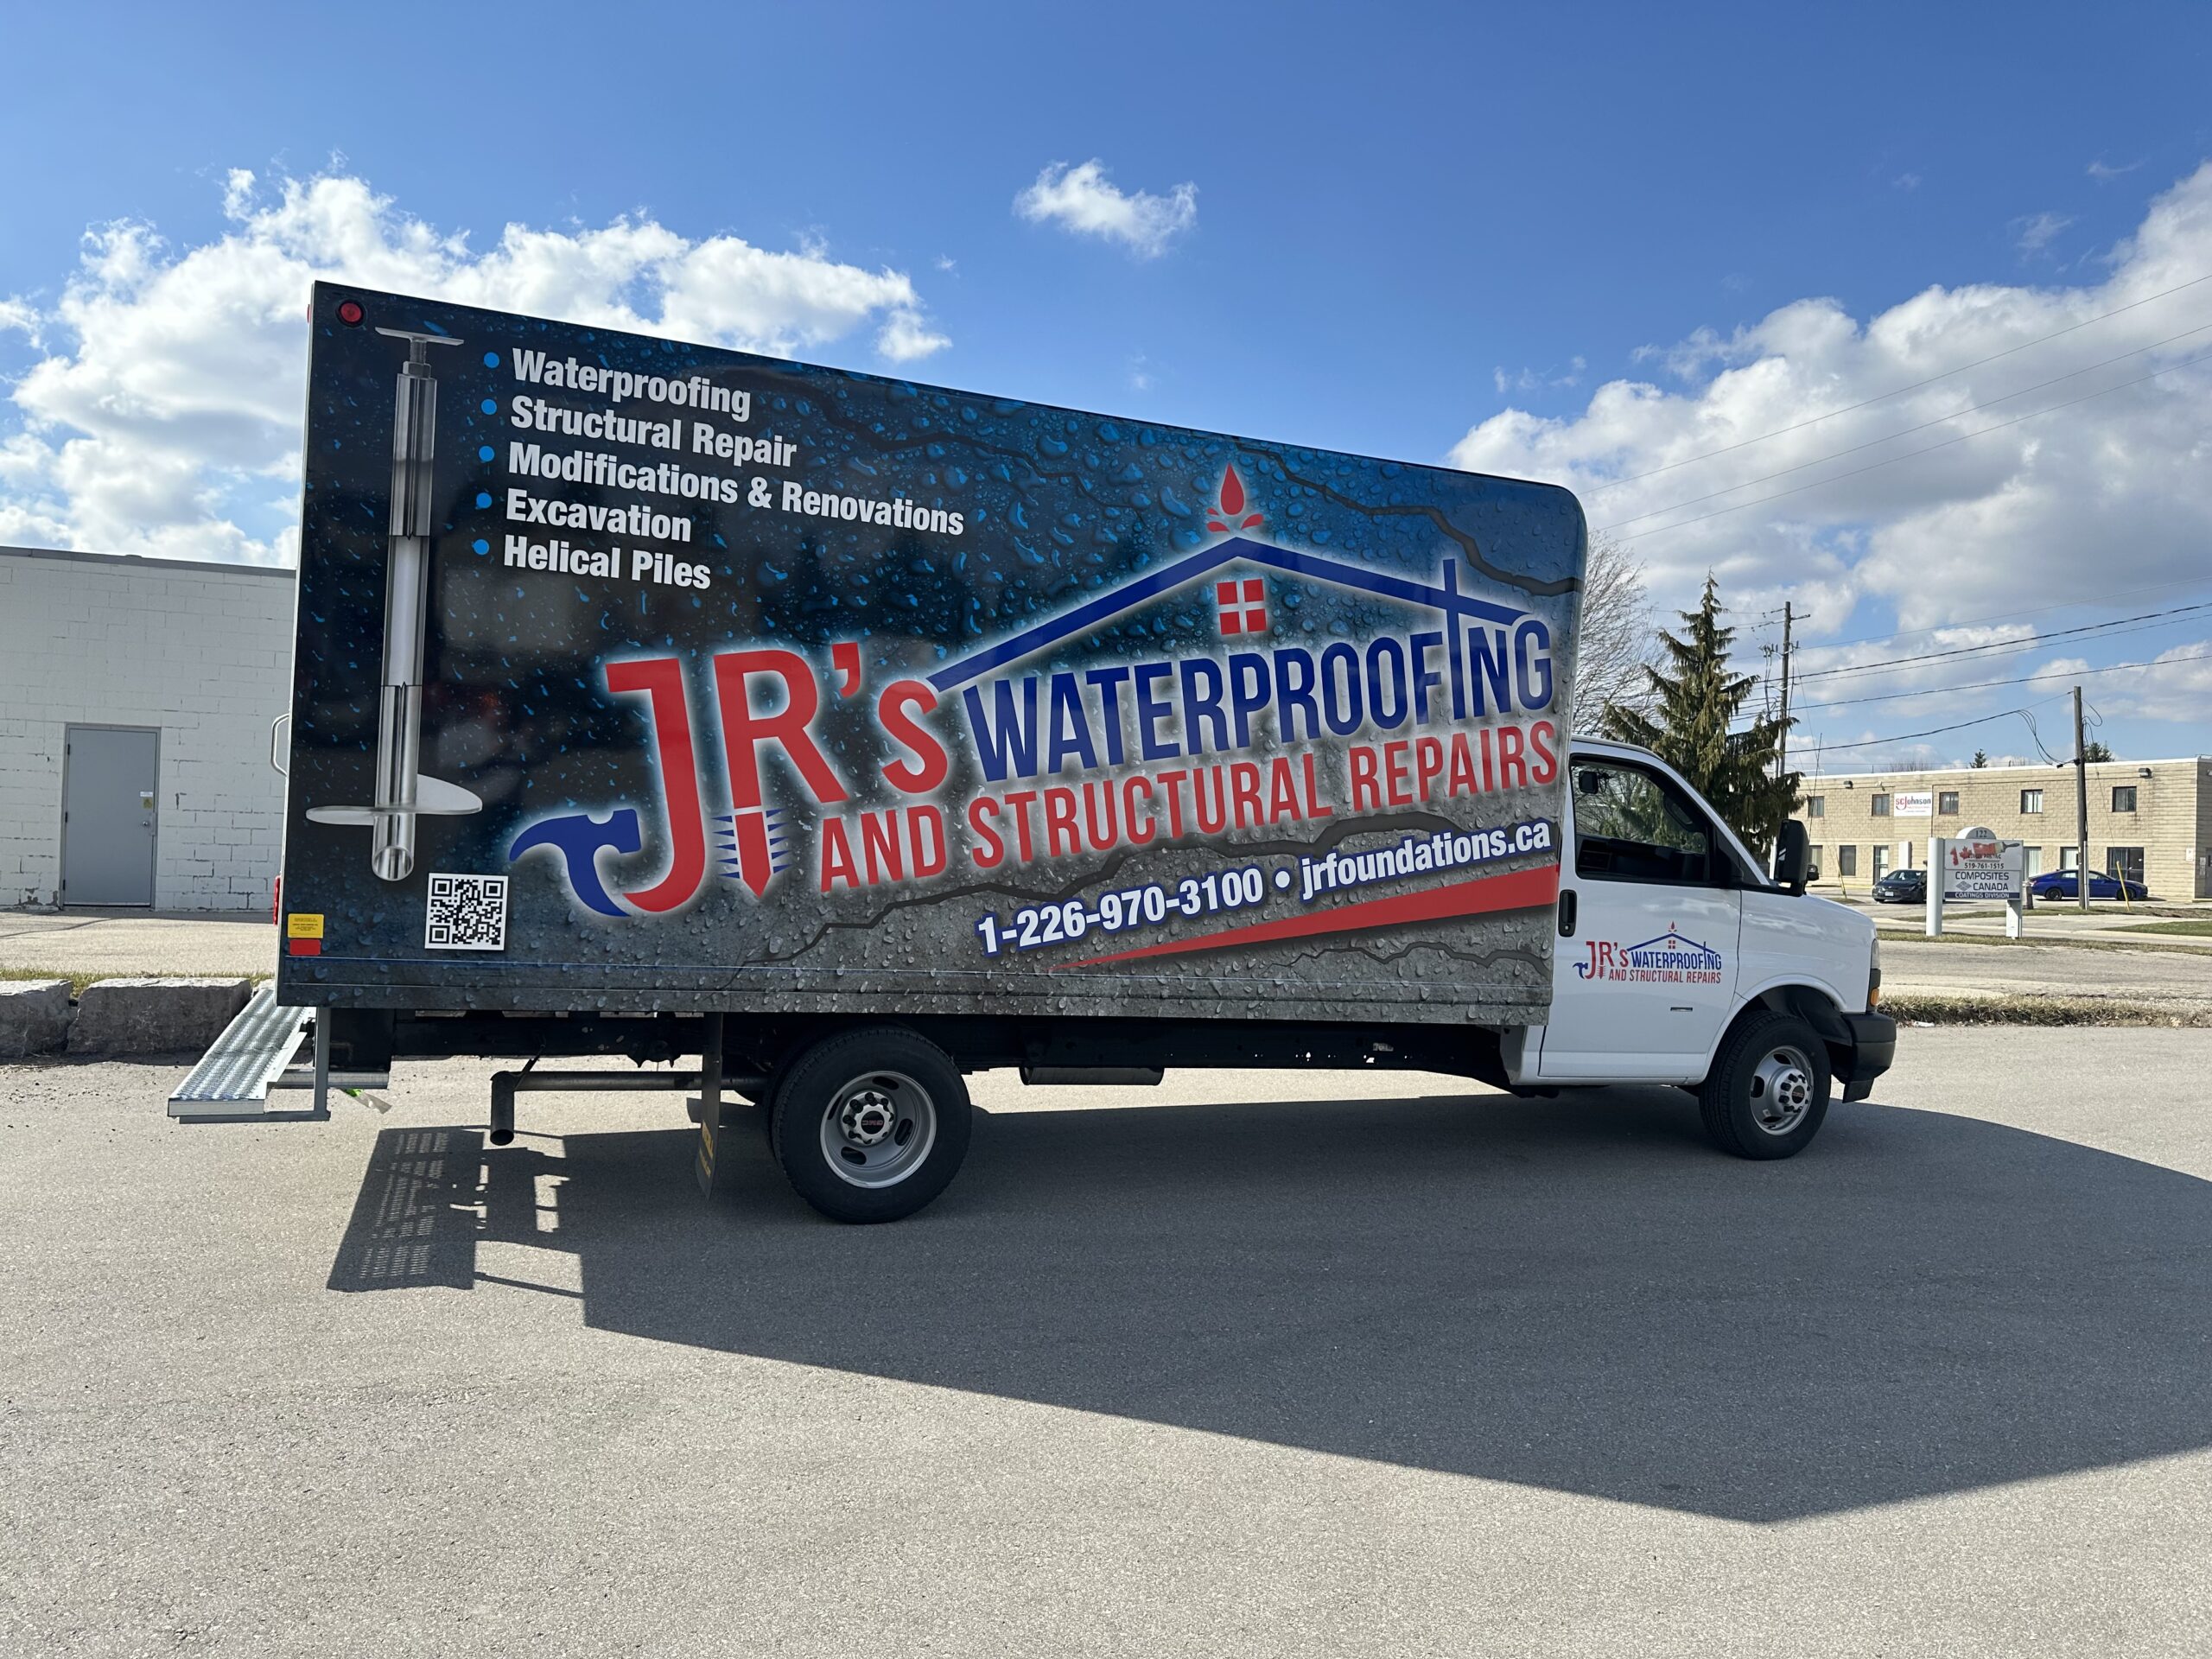
Protecting Your Brantford Home from Water Damage
Water damage in your basement can wreck your home’s foundation and, honestly, bring some nasty health risks from mold. I’ve seen too many Brantford homeowners end up with massive repair bills because they waited too long to fix basement moisture.
Professional basement waterproofing in Brantford usually runs between $50 to $300 per linear foot. It might sound steep, but it saves you from way pricier structural repairs and keeps your family healthy. JR’s Waterproofing and Structural Repair has been solving wet basements in Brantford for more than 5 years and says basement flooding is every homeowner’s nightmare.
Let me walk you through what you need to know about keeping your Brantford home dry. We’ll cover early warning signs, different waterproofing methods, drainage fixes, and what to expect if you hire a local pro.
The Importance of Basement Waterproofing in Brantford
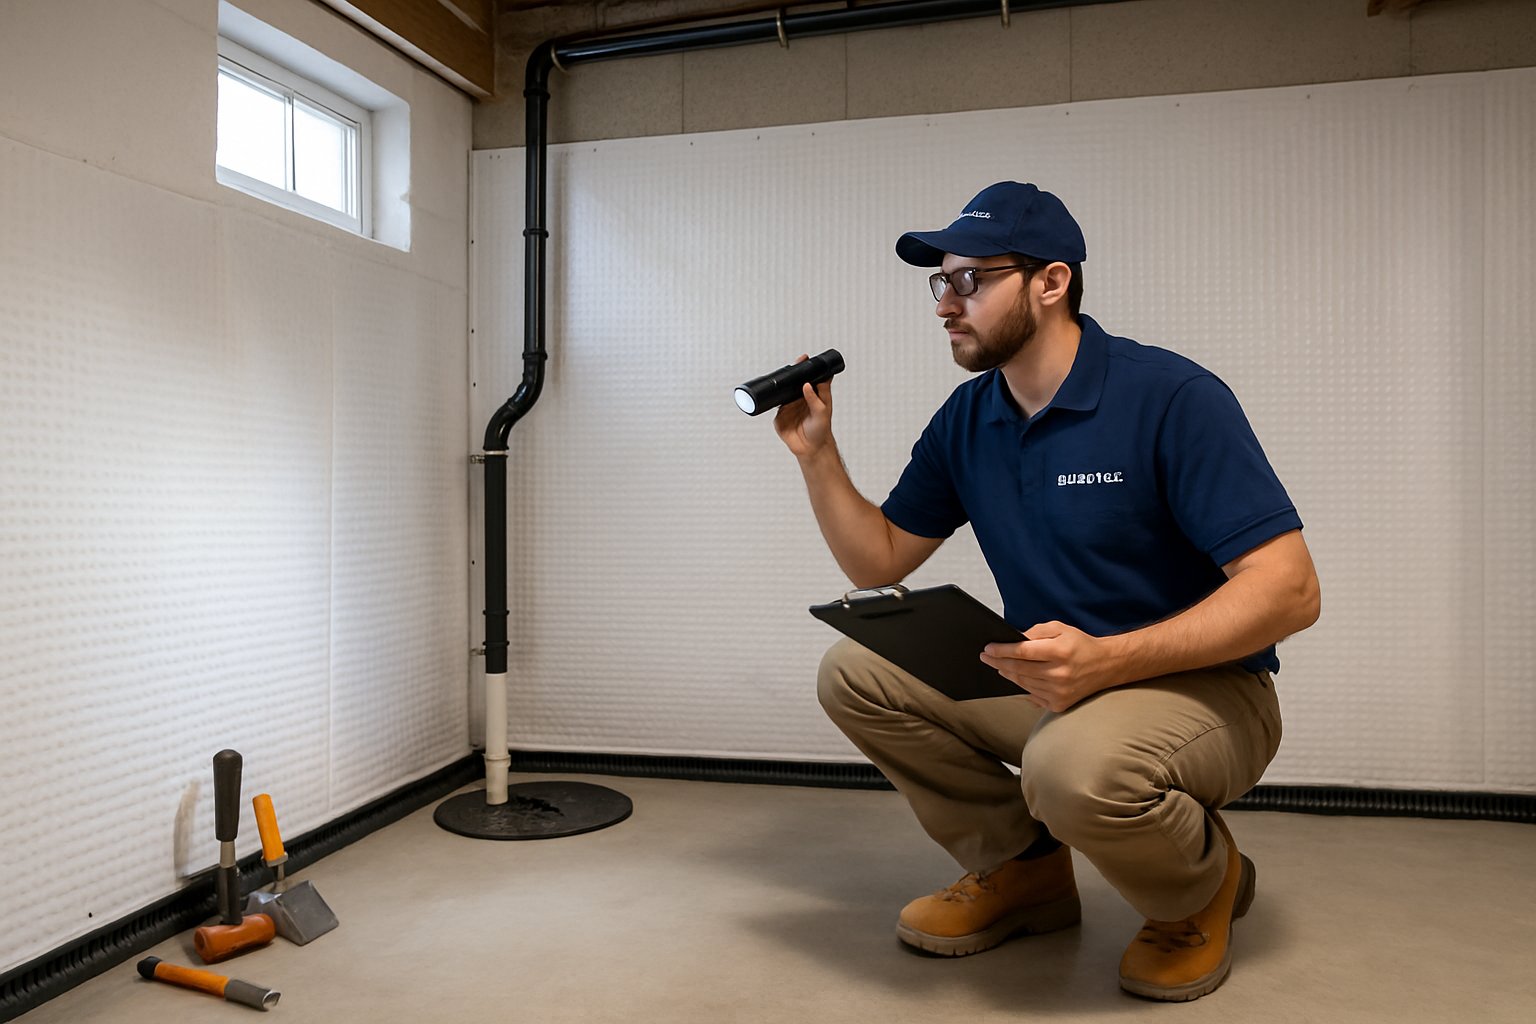
Basement waterproofing is your main defense against Brantford’s tough weather and tricky soil. If you ignore it, the financial and health consequences can get ugly fast.
Risks of Water Infiltration and Damage
Water getting into your basement goes after your home’s structure right away. Once moisture seeps through those foundation walls, mold and mildew can show up in just a day or two.
I’ve seen basement leaks in Brantford start as tiny drips and turn into disasters. The damage doesn’t stop at water stains.
When water freezes and thaws in foundation cracks, it makes those cracks bigger and can even create new ones. That cycle just keeps making things worse.
Flooded basements ruin flooring, drywall, and whatever you’ve stored down there. Most water damage claims hit between $3,000 and $10,000.
If water gets near electrical systems, that’s a fire risk and a shock hazard. Nobody wants to mess with that.
Wood framing soaks up moisture and starts to rot. Steel beams rust if they stay damp, and that can really mess with your home’s stability.
Impact on Home Value and Health
A wet basement can tank your home’s value and mess with your family’s health. Appraisers usually knock off 10-15% if they spot moisture or bad waterproofing.
Mold in a house is especially rough on kids and older folks. Coughing, wheezing, allergies—I’ve seen it all.
Buyers can smell a musty basement right away, and most just walk out. These homes sit on the market way longer than dry ones.
Professional basement waterproofing in Brantford gives you more usable space. If you finish your basement, it’s worth a lot more when it’s dry.
Some insurance companies won’t cover damage that could’ve been prevented by waterproofing. Check your policy—some exclude seepage.
If your family gets sick from mold, medical bills and air quality fixes add up fast. Sometimes, those costs outpace what you’d spend on waterproofing in the first place.
Local Climate and Soil Considerations
Brantford’s weather throws extra challenges at homeowners. Heavy spring rain and fast snow melts soak the soil around your house.
Most Brantford soil is heavy clay, so it holds water longer than sandy ground. Wet clay swells up, pushing hard against your foundation.
Seasonal temperature swings make the soil shift, which stresses foundation walls and opens up new spots for water to sneak in.
Spring is the riskiest time for basement flooding. Melting snow and April rain can overwhelm bad drainage in a hurry.
In winter, frost goes deep. When it thaws, water gets forced right up against your foundation instead of draining away.
Brantford’s high water table during wet months means more pressure on basement walls. If you’re near a water source, it’s even trickier.
The local soil mix means you need waterproofing solutions that work with clay, not against it.
Assessing Your Basement for Waterproofing Needs
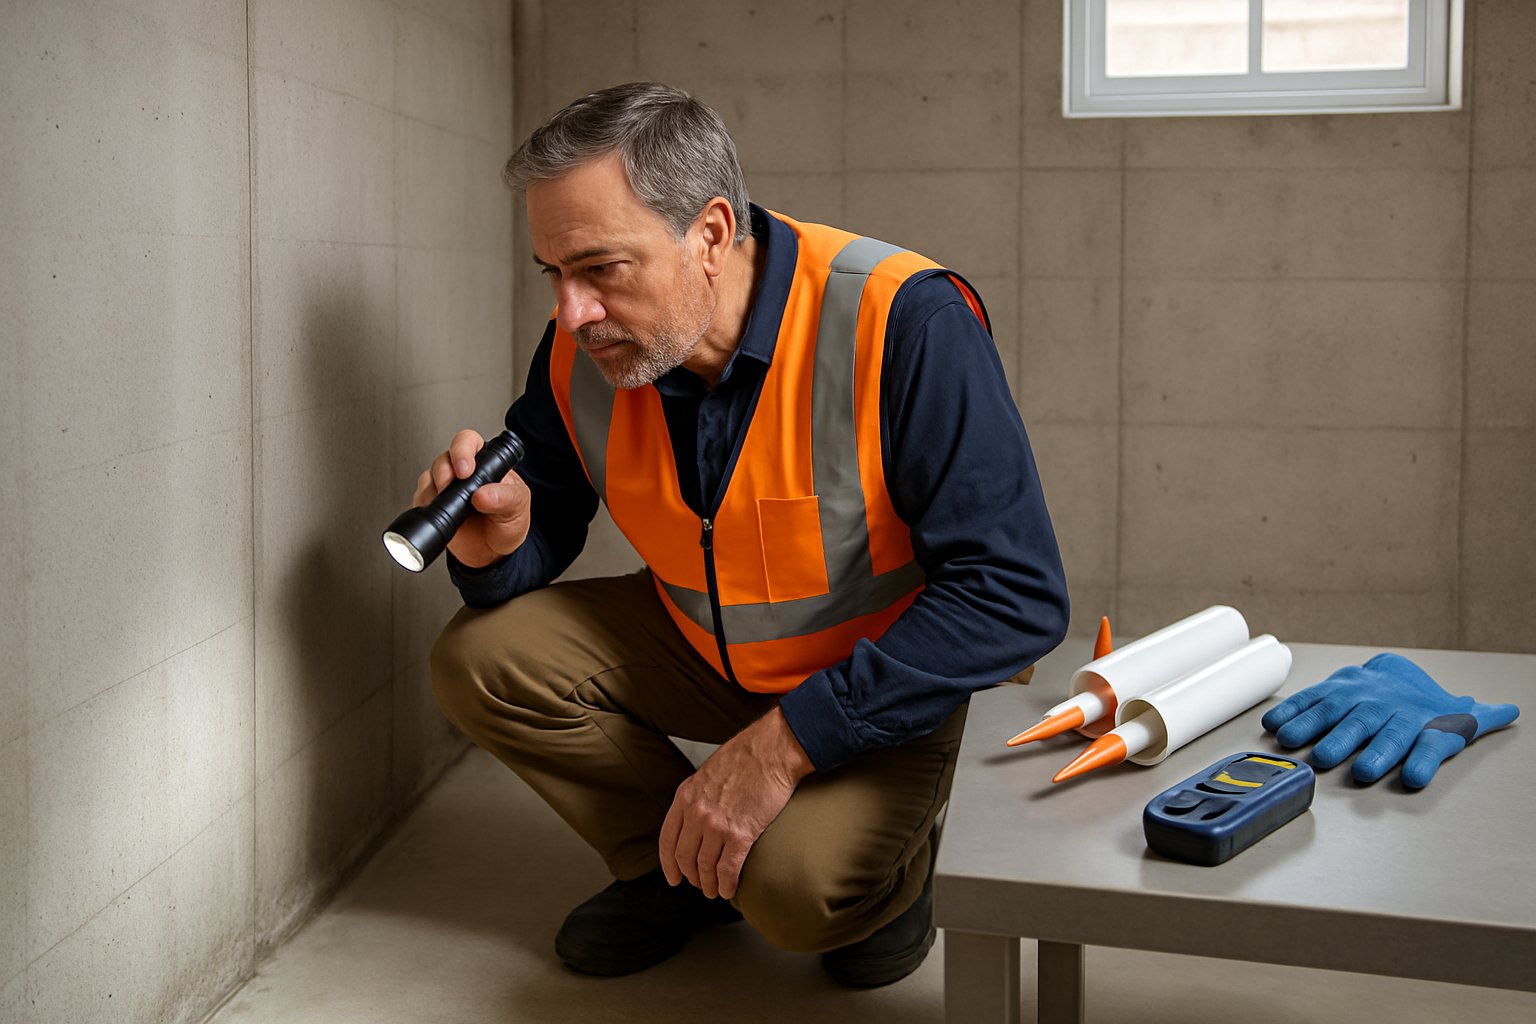
Before you tackle waterproofing, you’ve got to figure out where the water’s coming from. I always start with a good inspection to spot leaks, weak spots, and drainage problems.
Signs of Basement Leaks and Moisture
Basement water damage usually starts with little hints most people miss. Here are the signs I look for:
Visible Water Damage:
- White powdery stuff (efflorescence) on the walls
- Dark stains or weird patches along seams
- Paint that’s peeling or wallpaper bubbling near the floor
- Rust marks around pipes or metal fixtures
Moisture and Mold Issues:
- That musty smell that never goes away
- Mold in the corners—black, green, or white patches
- Condensation on windows or pipes
- Damp spots after it rains
The most common signs your basement needs waterproofing are these moisture clues. I suggest checking every month, especially in spring and fall.
If you see standing water or the floor’s wet after storms, it’s time to act. Even small leaks can turn into big headaches if you ignore them.
Foundation Inspections and Home Evaluations
Cracks in the foundation let water in, plain and simple. I check both inside and outside walls during my inspections.
Interior Foundation Assessment:
- Thin cracks in poured concrete
- “Step” cracks in block foundations
- Horizontal cracks—usually a stress warning
- Gaps where the wall meets the floor
Exterior Foundation Review: I walk the outside twice a year to check for crumbling or new cracks. Small cracks can grow fast when the freeze-thaw cycle hits.
If you see diagonal cracks, that’s often a sign the ground under your house is moving. Those need quick attention, especially before heavy rain season.
Professional foundation inspections catch things you might miss. I map out cracks and measure them to see if they’re getting worse.
Window wells and basement doors are trouble spots for leaks and debris buildup.
Identifying Poor Drainage and Hydrostatic Pressure
Hydrostatic pressure builds up when groundwater collects around your foundation. That pressure pushes water through even tiny cracks.
Drainage Problem Indicators:
- Water pools by your house after rain
- Soil stays soggy for days
- Gutters overflow or pull away from the roofline
- Downspouts dump water right by the walls
Hydrostatic Pressure Signs: I check for water marks on the walls to see how high water gets during storms. Horizontal cracks usually mean serious pressure.
Bad drainage makes waterproofing problems worse. Your yard should slope away from the house—about six inches over ten feet.
Most basement waterproofing Brantford jobs start with drainage fixes. I double-check that the ground directs water away from the foundation.
French drains and sump pumps can help keep groundwater from building up around your basement.
Basement Waterproofing Methods and Solutions
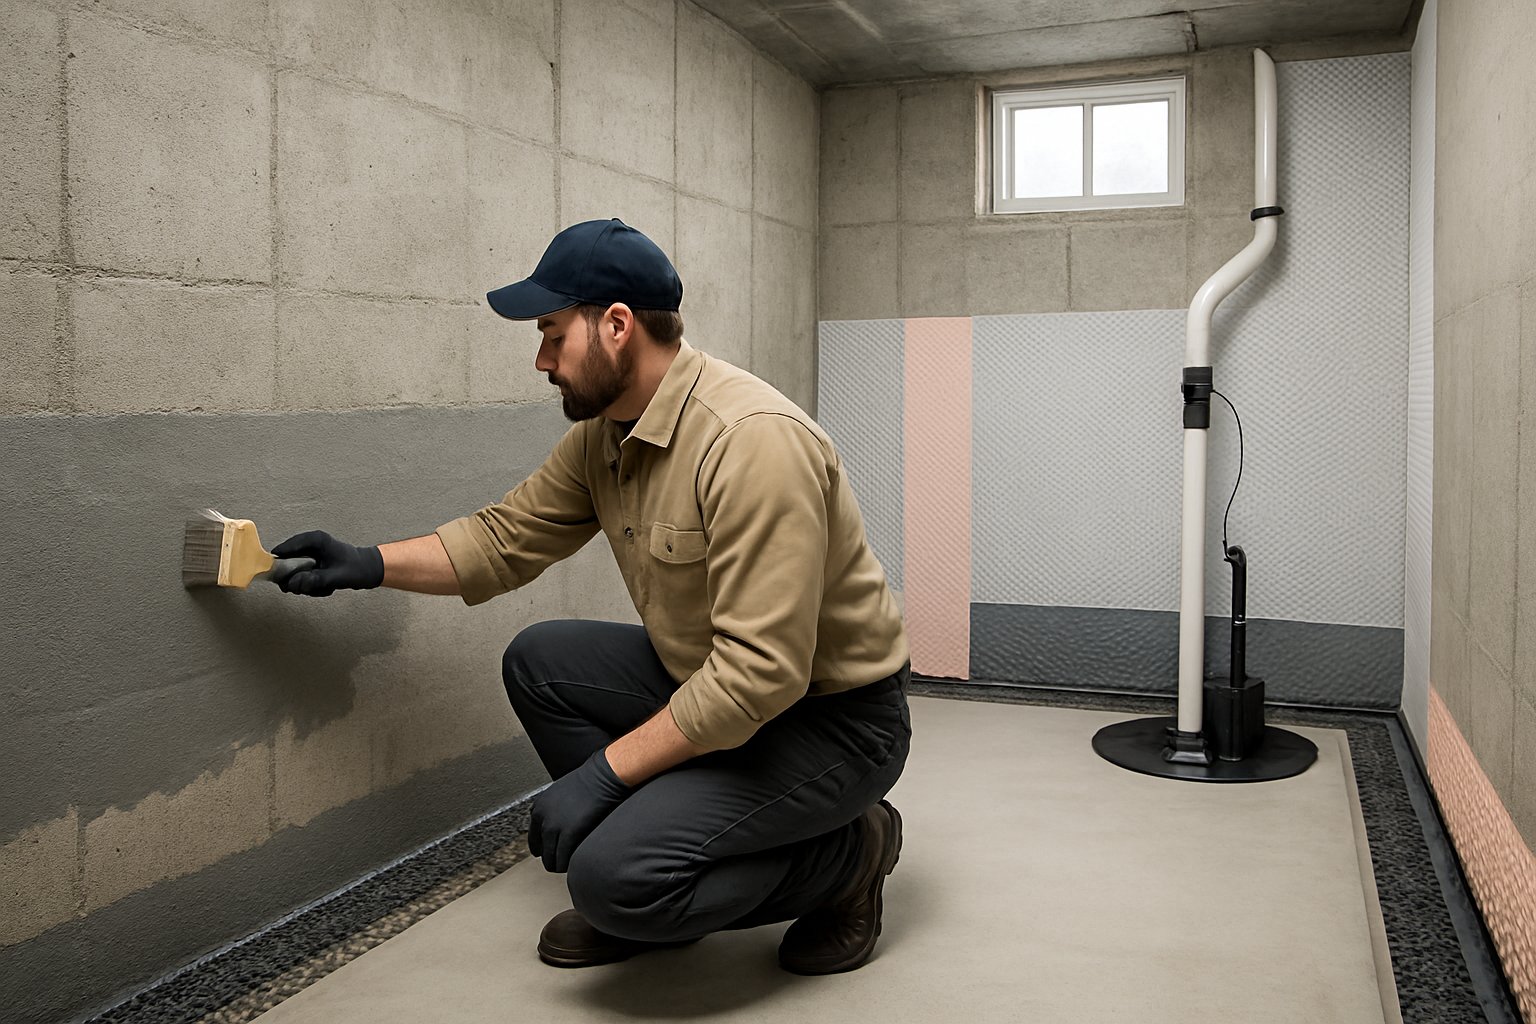
Good basement waterproofing uses both exterior systems to block water before it gets to your walls and interior systems to deal with any moisture that sneaks in. The best results come from combining different methods and materials.
Exterior Waterproofing Techniques
Exterior waterproofing is the gold standard. It stops water before it ever touches your foundation. But, it does mean digging around your house.
First, I dig down to the footings all the way around the house. The foundation wall gets exposed, cleaned, and any cracks get fixed.
Then comes the waterproofing. I roll or brush on a coating or membrane right onto the wall.
Typical exterior options:
- Rubberized asphalt
- Modified bitumen sheets
- Polymer sealants
- Bentonite clay panels
Drainage tiles and proper soil grading keep water moving away from your house. After that, I backfill with gravel or other materials that help drainage.
Interior Waterproofing Systems
Interior waterproofing handles water that’s already made it inside or comes up from below. It’s more about managing water than stopping it at the source.
A sump pump is usually the main feature. It sits in a pit and pumps collected water out.
Interior drainage channels get installed along the inside of the basement walls. They collect and direct water to the sump pit.
Common interior components:
- Perimeter drains
- Sump pump systems
- Wall sealants
- Vapor barriers
Coatings on the inside walls help slow down moisture coming through concrete. Sometimes, I have to cut into the floor to add drainage underneath.
Battery backups keep your sump pump running during a power outage—super important during storms.
Waterproof Membranes and Barriers
Waterproof membranes physically block water from getting through the foundation. There are a few types, each with its own strengths.
Sheet membranes come in rolls—think modified bitumen or EPDM rubber. You stick them right onto the prepped wall.
Liquid membranes get sprayed or rolled on. They cure into a seamless layer, which is handy for weird-shaped foundations.
Membrane specs:
- Thickness: usually 40-60 mil for sheets
- Handles temps from -40°F up to 180°F
- Stretches 200-300% without tearing
- Tensile strength: 200-400 psi
Self-adhesive sheets make installation easier—no torch needed. Spray-on types cover big areas fast.
Protection boards go on top of membranes to keep them safe when you backfill.
Weeping Tile and French Drains
Weeping tile systems use perforated pipes to collect and move water away from your foundation. French drains are similar but can go at different depths.
I dig a trench around the house, making sure it slopes toward the discharge point.
A layer of gravel goes down first, then the pipe, then more gravel.
System details:
- Pipe: 4-6 inches wide
- Slope: at least 1 inch every 8 feet
- Gravel: 3/4 inch clean stone
- Fabric: geotextile to keep soil out
Pipes get installed with holes facing down. Solid pipe sections connect to storm drains or daylight outlets.
Gravel surrounds the pipe, and filter fabric keeps dirt from clogging things up.
The whole system needs a good discharge point so water doesn’t back up.
Foundation Repair and Crack Sealing
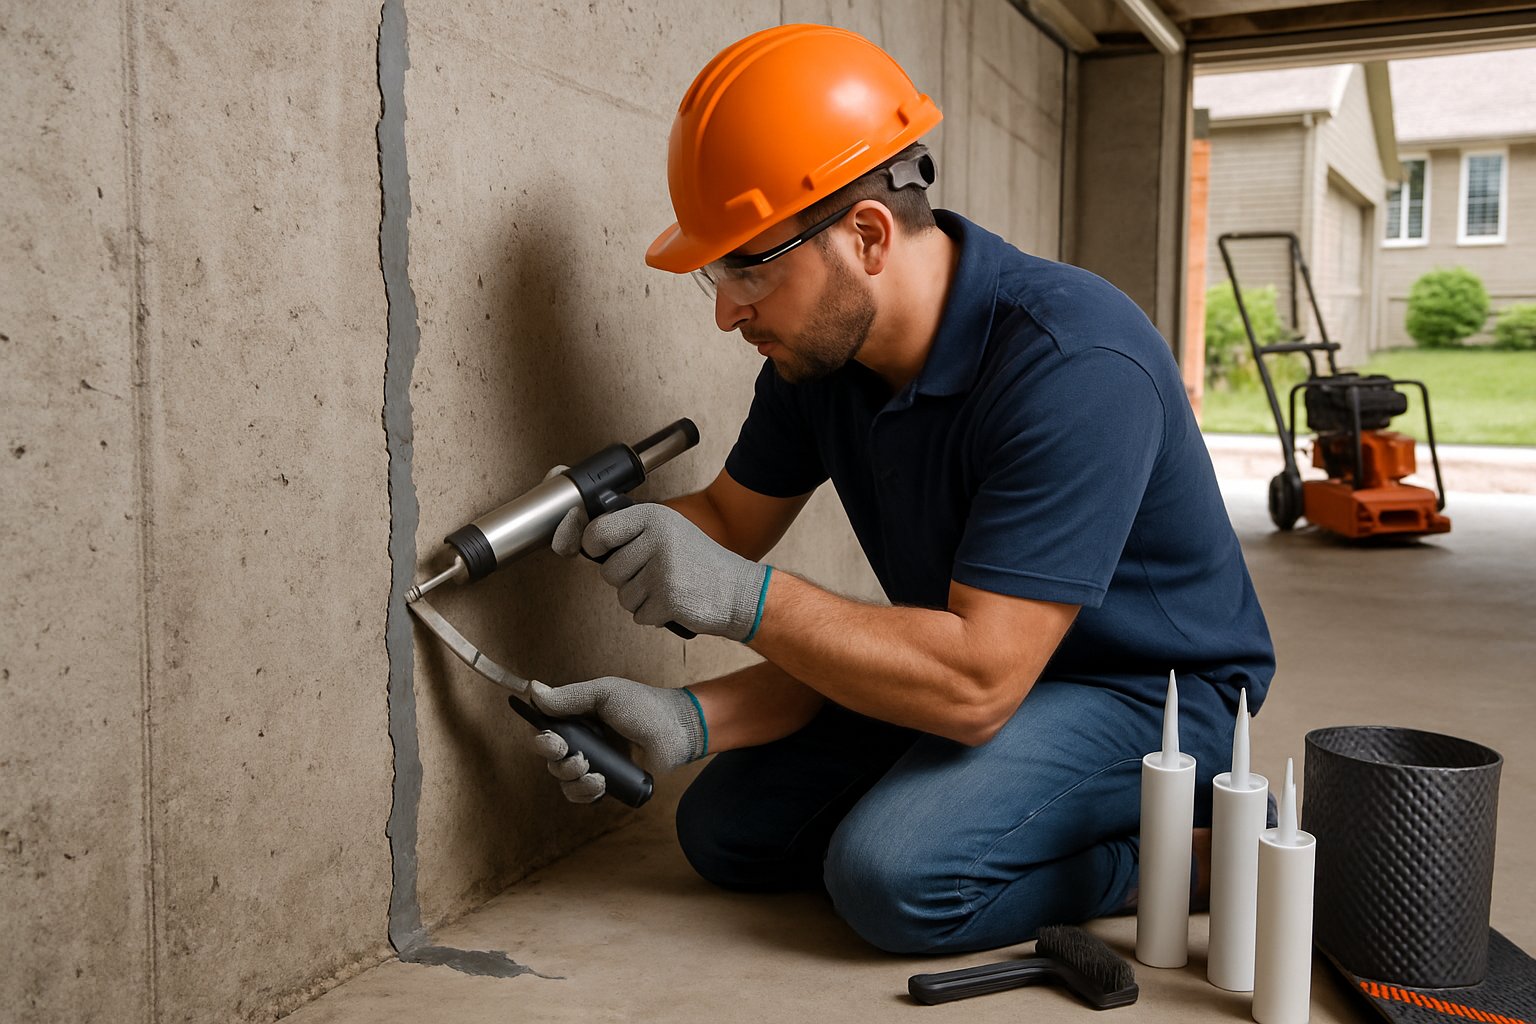
Cracks in your foundation can’t wait. Fixing them right away stops leaks and keeps your house solid.
Foundation Crack Repair Approaches
Every foundation crack repair starts with a close look. Small cracks usually get filled with polyurethane or epoxy, which expands and seals the gap.
For bigger cracks, I use hydraulic cement. It sets up even if water’s still coming through and buys time for a permanent fix.
| Crack Width | Repair Method | Expected Durability |
|---|---|---|
| Less than 1/8 inch | Polyurethane injection | 10-15 years |
| 1/8 to 1/4 inch | Epoxy injection | 15-20 years |
| Over 1/4 inch | Hydraulic cement + reinforcement | 20+ years |
If cracks keep moving, carbon fiber strips help. I stick them along the crack to spread out stress and keep it from getting worse.
Structural Reinforcement Strategies
When I come across bowing or buckling foundation walls, simple crack sealing just doesn’t cut it. Steel I-beams give the strongest reinforcement. I anchor these beams to both the foundation footing and the floor joists above.
Carbon fiber systems offer a less invasive option. These high-strength strips bond right to the foundation wall. They’re more affordable than steel beams and work well for walls with only slight bowing.
Wall anchors help when foundation walls pull away from the structure. I install these through the foundation wall, anchoring them in stable soil. Over time, the system slowly brings the wall back to its original position.
Underpinning is necessary when foundation repairs involve settlement issues. This process extends the foundation deeper until it reaches stable soil layers.
Addressing Settlement and Shifting
Differential settlement causes some of the toughest foundation problems. I spot settlement by measuring floor levels and looking for stair-step cracks in basement walls.
Helical piers are usually the most reliable fix for ongoing settlement. I drill these steel piers down to bedrock or stable soil. They shift the home’s weight away from the unstable ground.
Push piers work in a similar way but use the home’s own weight for installation. I like these for lighter buildings or when bedrock isn’t too deep.
Slab jacking lifts settled concrete floors. I inject expanding foam or cement under the slab to bring it back to level. It’s way cheaper than ripping out and replacing the slab.
Proper drainage plays a huge role in preventing future settlement. I make sure water flows away from the foundation with good grading and working gutters. Water pooling near the foundation just leads to soil instability and more settlement.
Basement Drainage and Sump Pump Solutions
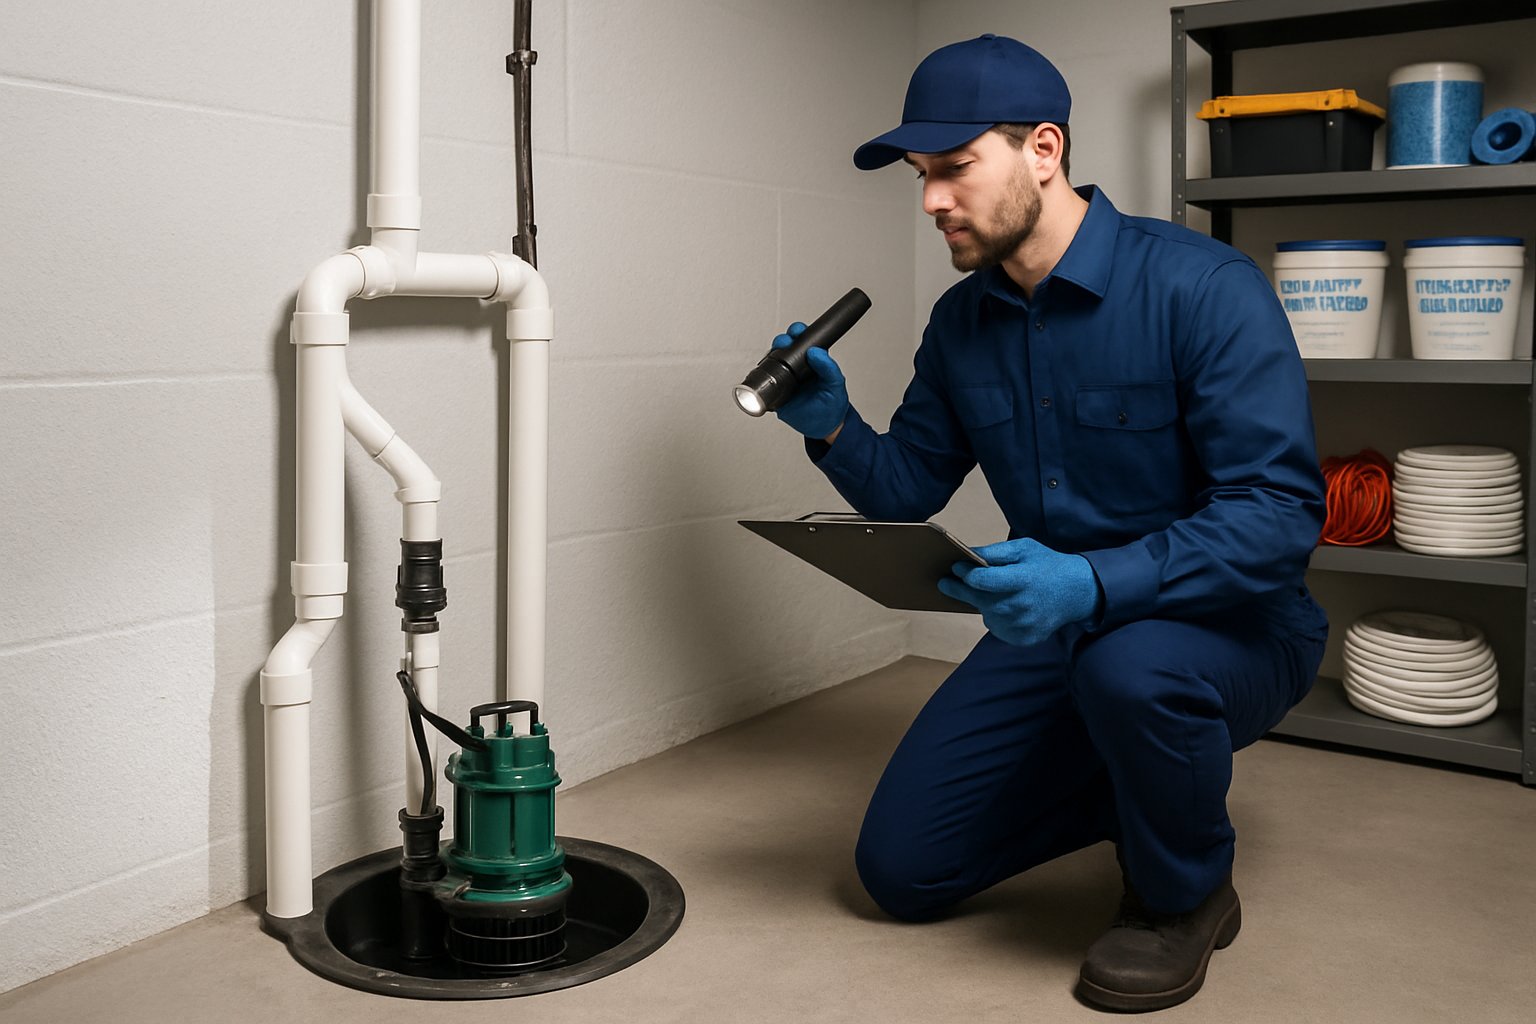
Effective drainage systems and sump pumps work together to keep basements dry. They collect and remove water before it can cause damage. For these systems to work well, they need proper installation, regular maintenance, and components like backwater valves.
Sump Pump Installation and Maintenance
I always recommend installing drainage systems and sump pumps with professional help. A sump pump sits in a pit that collects water from around your foundation. When the water rises, the pump turns on and pushes it away from your home.
The installation process includes a few main steps:
- Digging a sump pit in the lowest part of the basement
- Installing the pump and connecting discharge pipes
- Setting up safe electrical connections with GFCI protection
- Testing the system to make sure it works
Regular maintenance keeps your sump pump ready for action. I check mine every three months by pouring water into the pit to see if it kicks in.
Maintenance tasks I do include:
- Clearing debris from the pit and pump intake
- Testing the float switch
- Checking discharge lines for clogs or damage
- Swapping out backup batteries if you have a battery-powered system
Most sump pumps last about 7-10 years if you take care of them. If you hear weird noises, see it cycling too often, or notice rust, it’s probably time for repairs.
Backwater and Check Valve Systems
Backwater valves keep sewage and water from coming back into your basement through floor drains. They snap shut automatically if water tries to flow backward.
I put check valves on sump pump discharge lines to stop water from flowing back into the pit. This simple device only lets water go one way—away from the house.
Some main benefits of these valves:
- They protect against sewer backups during heavy rain
- They keep contaminated water out of your basement
- They lower the risk of property damage and health issues
- They help you meet local building codes
Professional installation makes sure these valves work right and meet code. Some cities even offer rebates for backwater valve installation to help cut down on flood damage costs.
I check these valves every year and clean out any debris that could stop them from closing properly.
Basement Drainage Improvements
Interior perimeter drainage systems collect water that sneaks in through foundation walls and floors. These systems work alongside sump pumps to handle anything exterior waterproofing doesn’t stop.
French drains are the most common solution inside. To install these, I remove concrete around the basement perimeter and lay perforated pipes in gravel beds. Water flows through the pipes to collection points that connect to the sump pump.
Drainage system parts include:
- Perforated drain pipes or tiles
- Gravel beds for water flow
- Filter fabric to keep soil out
- Connectors to the sump pump
Exterior drainage improvements are all about moving water away from your foundation. I make sure the ground slopes away from walls—at least a 6-inch drop over 10 feet.
I always remind folks to keep gutters and downspouts clean. Overflowing gutters dump water right next to your foundation. Extending downspouts at least 6 feet from walls really helps reduce pressure against basement walls.
Weeping tile systems around foundations catch groundwater before it hits basement walls. These connect to sump pumps or gravity drains, depending on your property’s elevation and drainage setup.
Costs and Warranties for Basement Waterproofing

Knowing what basement waterproofing costs—and what kind of warranty you get—helps you make smart decisions. Prices vary a lot depending on your situation, while warranties give you some peace of mind.
Factors Influencing Basement Waterproofing Cost
Several things affect your final waterproofing bill. The method you pick makes the biggest difference.
Interior waterproofing usually runs $80-$360 per linear foot. It’s a good option for older homes and doesn’t require much digging.
Exterior waterproofing costs more, around $110-$320 per linear foot, but it offers more complete protection.
Basement size matters—a bigger basement means more materials and more labor.
The extent of existing damage also impacts cost. Fixing minor cracks is cheaper than tackling major foundation problems.
Soil conditions around your house play a role too. Clay-heavy soil is harder to work with and costs more to excavate.
Extras like sump pumps, French drains, or backwater valves add to the total. Each one plays a role in keeping your basement dry.
Transferable Warranty and Guarantees
A reputable waterproofing company offers solid warranty protection. The best warranties even transfer to new homeowners if you decide to sell.
Many pros offer 25-year transferable warranties. This protects your investment and can boost your home’s value.
The warranty usually covers both materials and labor. If you have issues during the warranty period, repairs should be free.
Warranty terms do vary. Some cover only certain parts, while others protect the whole system.
Always read the warranty details before you sign anything. Knowing what’s included helps you pick the right contractor.
Keep your warranty paperwork somewhere safe. You’ll need it if problems pop up or when you sell your home.
Choosing Professional Basement Waterproofing Services in Brantford
Picking the right contractor means checking credentials, experience, and local know-how. You want someone who understands Brantford’s clay soil and unpredictable weather. That way, your waterproofing solution actually lasts.
How to Select a Qualified Contractor
I start with the basics when looking at professional basement waterproofing contractors. Make sure they’re licensed and insured. That protects you and shows they meet industry standards.
Experience really matters here. I look for contractors with at least 10-15 years of experience in Brantford, especially those who’ve handled issues like hydrostatic pressure and frost heave.
Questions I always ask:
- How many similar jobs have you done in Brantford?
- What kind of warranty do you offer?
- Can you share recent customer references?
- Will you give me a written estimate with all the details?
I check out customer reviews on several platforms and ask for references from jobs nearby.
Written estimates should spell out materials, timeline, and total cost. If a contractor only gives a verbal estimate or wants full payment upfront, I walk away.
Benefits of Hiring Local Experts
Local contractors know Brantford’s soil and weather inside out. They understand how clay soil messes with foundation stability and which waterproofing methods actually work here.
Basement waterproofing service providers who are local can respond quickly in emergencies. They’re usually faster with service calls and easier to book for follow-ups.
Building a relationship with local pros pays off. They know the city’s building codes and permit requirements.
Local businesses tend to offer better warranties because their reputation is on the line. They’re more likely to honor their guarantees and fix issues quickly.
I’ve noticed local experts often have better rates too, since they don’t have high travel costs and already have supplier relationships nearby.
Overview of Service Areas and Neighbouring Cities
Most Brantford waterproofing contractors like JR’s Waterproofing and Structural Repair also cover Hamilton, Ancaster, Dundas, Stoney Creek, Burlington, and Oakville. If they serve a wider area, it’s usually a sign they’ve got experience and resources.
Hamilton and Burlington have similar soil to Brantford, so contractors working there know what they’re doing with clay soils.
Brant County includes some rural spots where you might pay extra for travel. I always ask about service area coverage and extra fees at the start.
Ancaster and Dundas homes tend to have similar foundations and ages as those in Brantford. Contractors with experience there can better assess your needs.
Stoney Creek and Oakville have different geology, so if a contractor works in all these places, they’ve probably seen it all.
Bigger service areas usually mean the company is stable, has better equipment, and more experienced crews.
Frequently Asked Questions
Basement waterproofing in Brantford means knowing about techniques like interior drainage and exterior membranes. Homeowners need to understand sump pump effectiveness, warning signs, maintenance, and what they might spend.
What are the most effective methods for preventing basement water leaks in the Brantford climate?
I think a combo of interior and exterior methods works best here. Interior drainage systems collect water along the basement edge and send it to a sump pump.
Exterior waterproofing offers the strongest defense. That means applying waterproof membranes to the foundation and installing drainage tiles around the outside.
Good grading around the house is a must—water should flow away from the foundation. I always seal foundation cracks with epoxy before they get worse.
Can sump pump installation provide a long-term solution for a wet basement?
Sump pumps do a great job when paired with proper drainage. They kick on automatically and remove water before it causes problems.
I always add a battery backup so the pump works during power outages. With regular maintenance, sump pumps can last 10-15 years.
Still, sump pumps are just one part of a full waterproofing system. They get rid of water, but they don’t stop it from coming in.
What are the signs that indicate the need for professional basement waterproofing services?
Water stains on walls or floors are a big red flag. I also look for white chalky stuff—efflorescence—which shows water’s been evaporating and leaving minerals behind.
Musty smells usually mean mold from excess moisture. You might notice higher humidity or condensation on surfaces.
Cracks wider than 1/8 inch should get checked by a pro. If you see standing water after rain or water seeping through walls, it’s time to act fast.
How often should a basement waterproofing system be inspected and maintained?
I suggest inspecting your waterproofing system twice a year, usually spring and fall. Test sump pumps every month by pouring water into the pit.
Clean gutters and downspouts each season to keep water away from the foundation. Check interior sealants every year for cracks or wear.
A professional foundation inspection by JR’s Waterproofing and Structural Repair every 3-5 years can catch problems before they get expensive. Experienced contractors often spot things homeowners miss.
What are the differences between interior and exterior basement waterproofing techniques?
Interior waterproofing deals with water that’s already made its way into your basement. You might see people install drainage systems or use sealants inside, and sometimes they’ll put in sump pumps to get rid of that collected water.
Exterior waterproofing takes a different approach. It tries to stop water before it even touches your foundation walls by digging around your house and putting waterproof membranes on the outside.
Interior methods usually cost less and don’t mess up your yard too much. Exterior options, though, tend to offer stronger protection, but they do mean more digging and a bigger bill.
What is the typical cost range for waterproofing a basement in Brantford?
Interior waterproofing projects usually cost between $1,000 and $5,000. The price really depends on your basement’s size and how bad the water intrusion is.
If you just need a simple crack sealed, you’ll pay a lot less than if you need a full drainage system installed.
Exterior waterproofing is a bigger investment, often ranging from $5,000 to $15,000. That’s mostly because of all the digging and applying membranes outside your foundation.
These jobs take a lot more labor, which bumps up the cost.
A few things can push the price up or down, like how big your basement is, what kind of soil surrounds your house, and which waterproofing method you pick.
Honestly, I think spending a bit more upfront on solid waterproofing can save you from nightmare repairs down the road.